Background for Beginners
Before you begin, it is important to note that 3D printing can be a complex process and may require some trial and error to get the best results – even with advanced printers. It is recommended that you have a basic understanding of 3D design and computer-aided design (CAD) software before attempting to print.
More info: https://wiki.bambulab.com/en/x1/manual
Understanding 3D printing technologies and materials:
There are various 3D printing technologies available, such as Fused Filament Fabrication (FFF), Stereolithography (SLA), and Selective Laser Sintering (SLS). The Bambu Lab X1-Carbon 3D printer uses FFF technology, which is the most commonly used and beginner-friendly method. Different materials, such as PLA, ABS, and PETG, have unique properties and are suitable for specific applications. Make sure to choose the right material for your project.
Preparing your model:
Before you can print a model, you will need to create or obtain a 3D design file. There are many different software programs and websites that you can use to create or download 3D models. Some popular options include:
-
Tinkercad: This is a free, web-based 3D design software that is easy to use and suitable for beginners.
-
SketchUp: This is a more advanced 3D design software that is available for free or as a paid subscription.
Thingiverse: This is a website that hosts a large collection of free 3D models that you can download and print.
Slicing
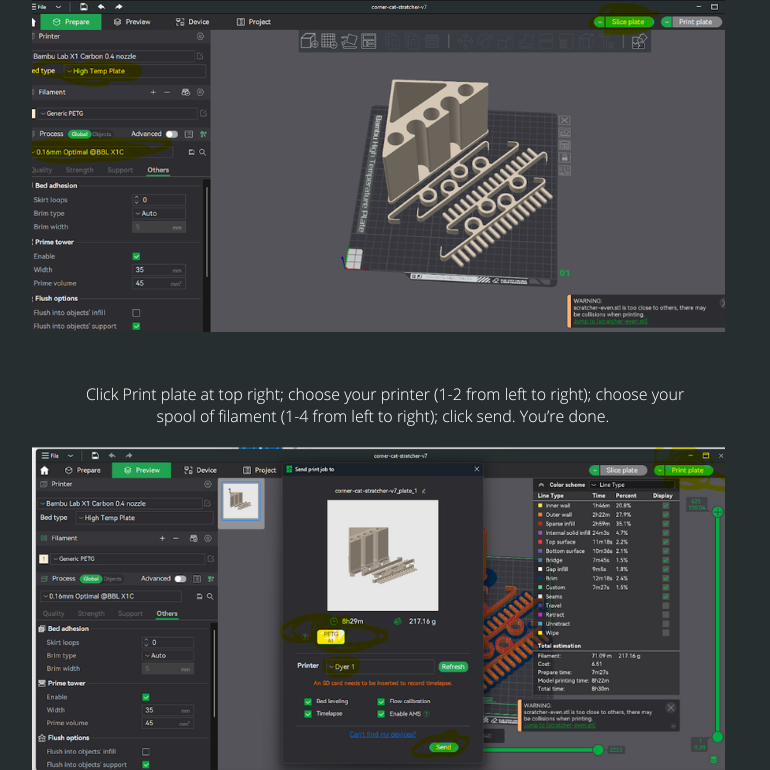
To prepare your 3D model for printing, you will need to use slicing software. The recommended slicer for the Bambu Lab X1-Carbon 3D printers is BambuLab Studio. This software will take your 3D model and slice it into layers, generating the code necessary to print the model. In Banbulab Studio, you can adjust settings such as layer height, infill density, and support structures to customize your print.
Setting up the printer:
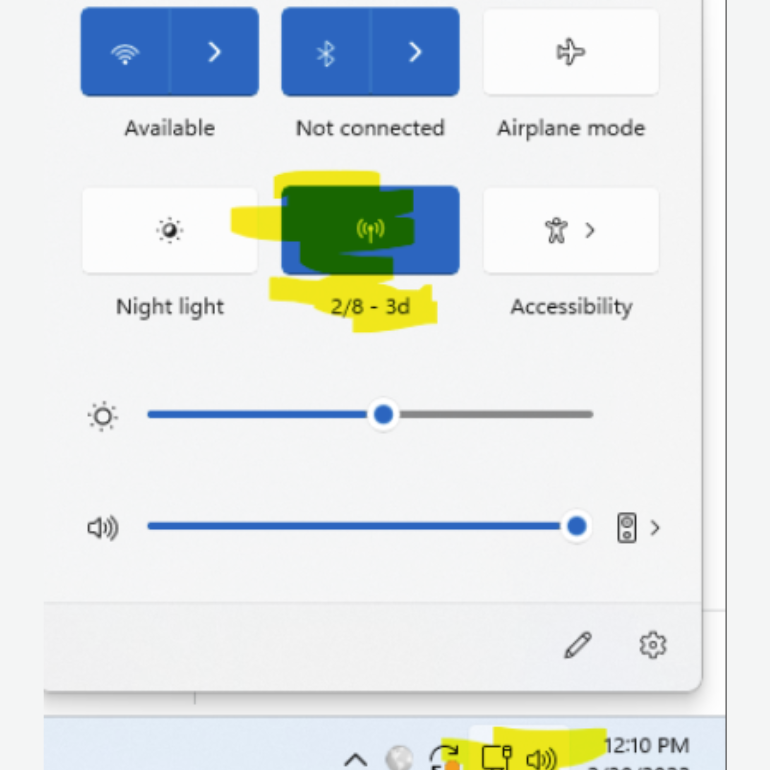
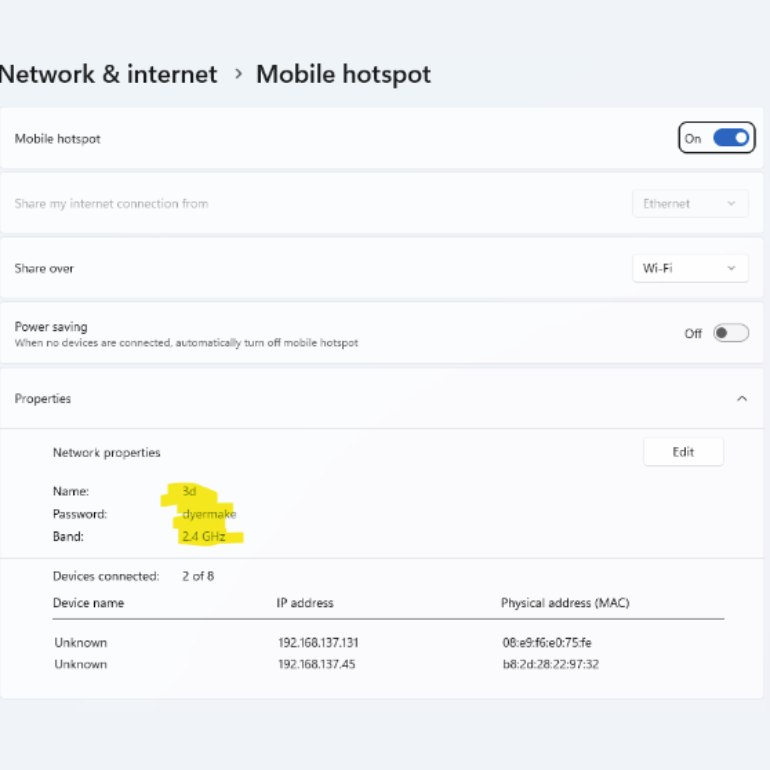
The Bambu Lab X1-Carbon 3D printer has automatic bed leveling, which means you do not need to manually level the bed before each print. Simply turn on the printer, and it will calibrate itself automatically. Additionally, make sure the correct material type is loaded in the appropriate slot of the AMS holder (1,2,3,4) and that the filament spool will unwind correctly before loading.
Printing your model:
Once you have prepared your 3D model and sliced it using BambuLab Studio, you are ready to print. In BambuLab Studio, click on “Print Plate” and choose your printer (1-2 from left to right) and the spool of filament you want to use (1-4 from left to right). Click “Send,” and your model will start printing.
If your print is particularly challenging (poor bed adhesion, new materials, etc), you might want to stay with your print for a while. When the print is complete, remove the magnetic print bed and use a tool to scrape everything off; including the calibration lines. Clean up for the next user.